Instances
An instance is a virtual server inside your Cloud Compute service — the unit that runs your application, with a defined vCPU/RAM/disk/OS.
Instance list
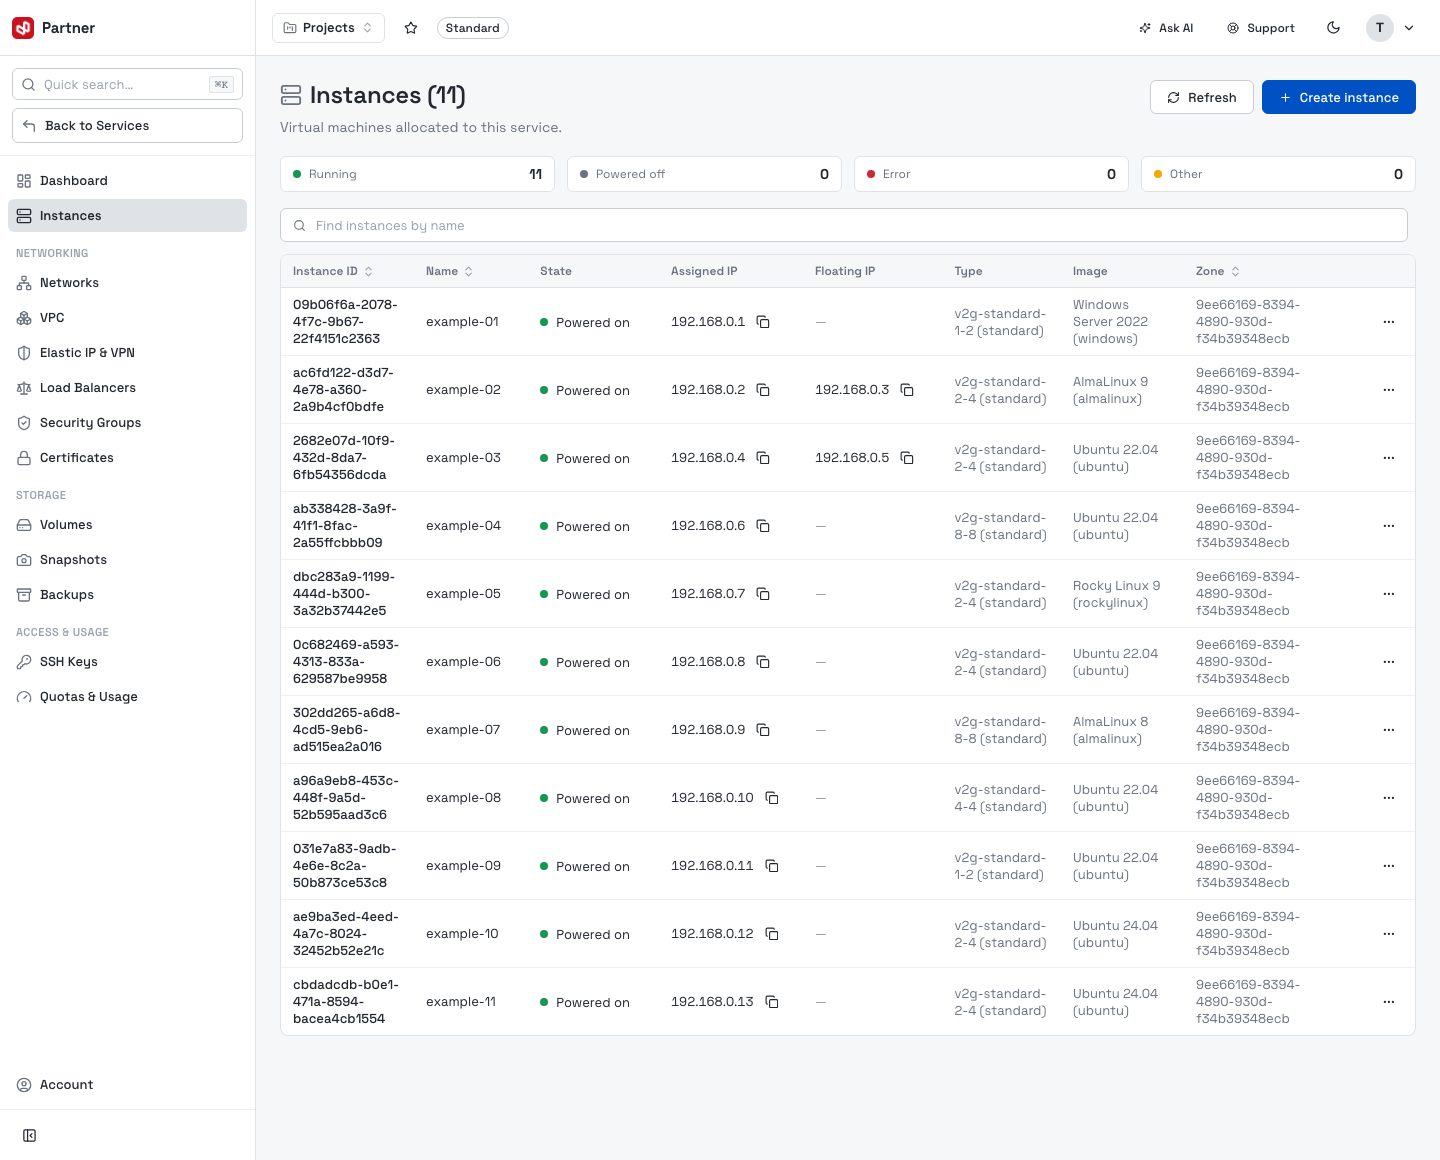
The table lists the service's VMs with columns Instance ID, Name, State, Assigned IP, Floating IP, Type, Image, Zone.
- Summary cards on top count instances by state: Running / Powered off / Error / Other — a quick health read for the whole service.
- Refresh re-pulls the list; Create instance (top right) opens the wizard.
- State shows each VM's power status (e.g. Powered on / Powered off).
- Click any row to open the instance detail, where all the per-VM tabs and lifecycle actions live.
Create an instance
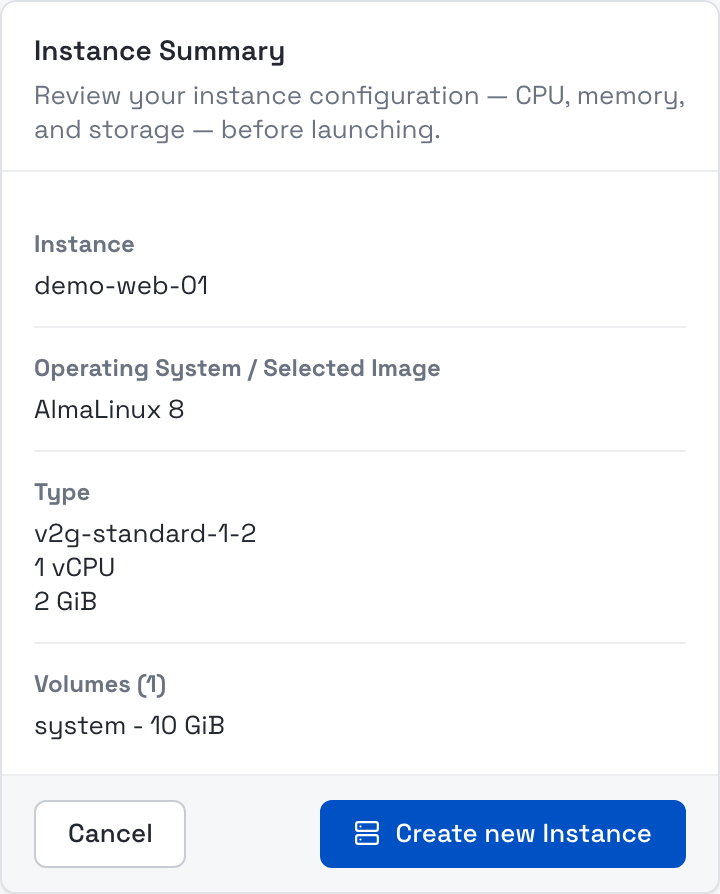
Click Create instance. The creator is a single page with several configuration sections; the Instance Summary panel on the right updates live. Finish with Create new Instance.
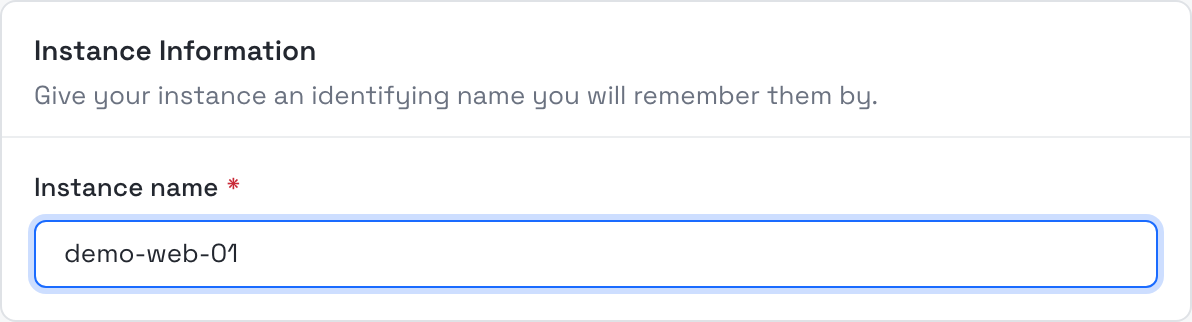
Step 1 — Instance Information
Set the instance name (required).
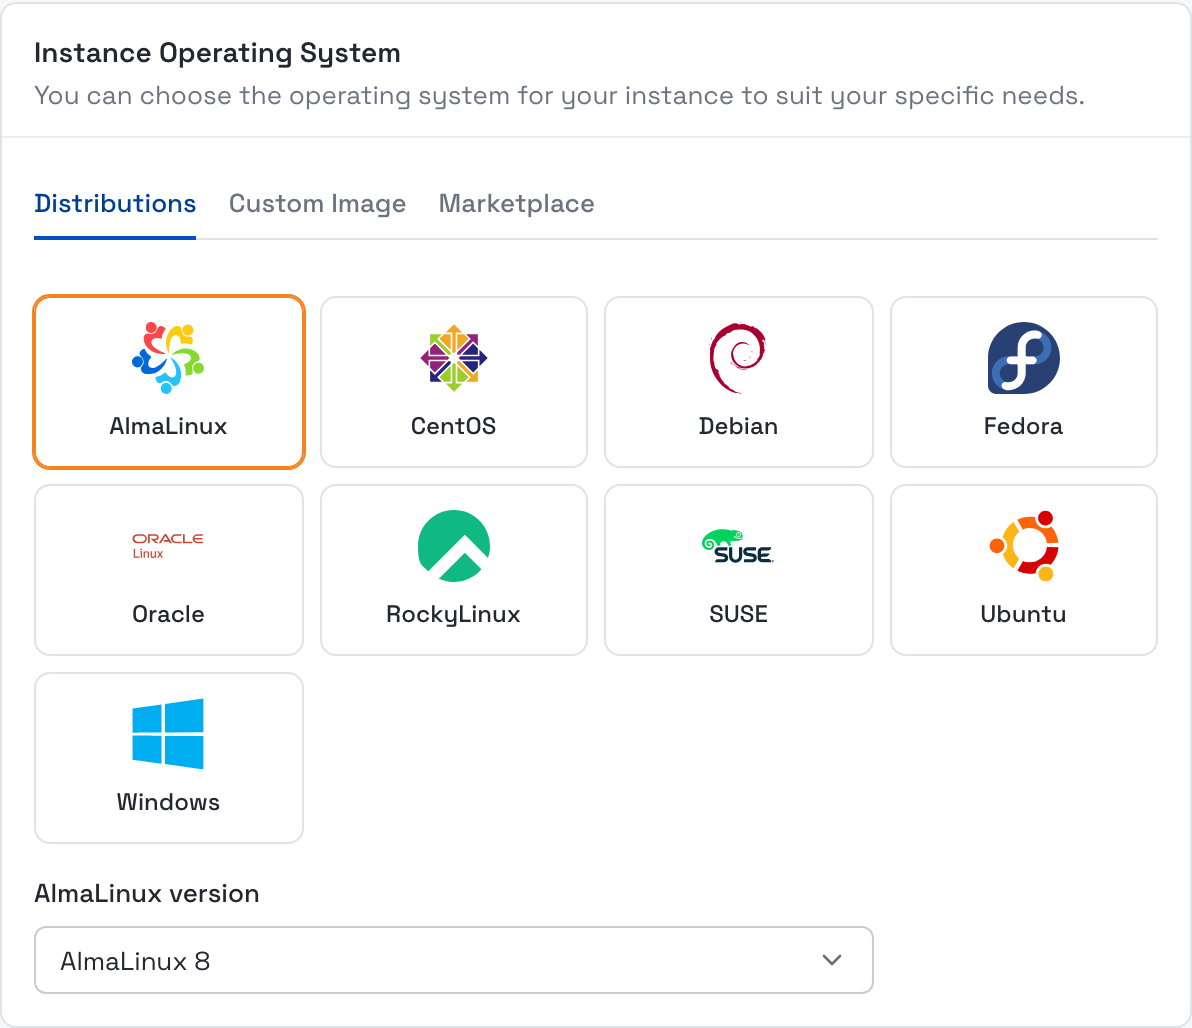
Step 2 — Operating System
Choose the OS from Distributions (Ubuntu, AlmaLinux, Windows Server…), Custom Image (your own image) or Marketplace (prebuilt application images).
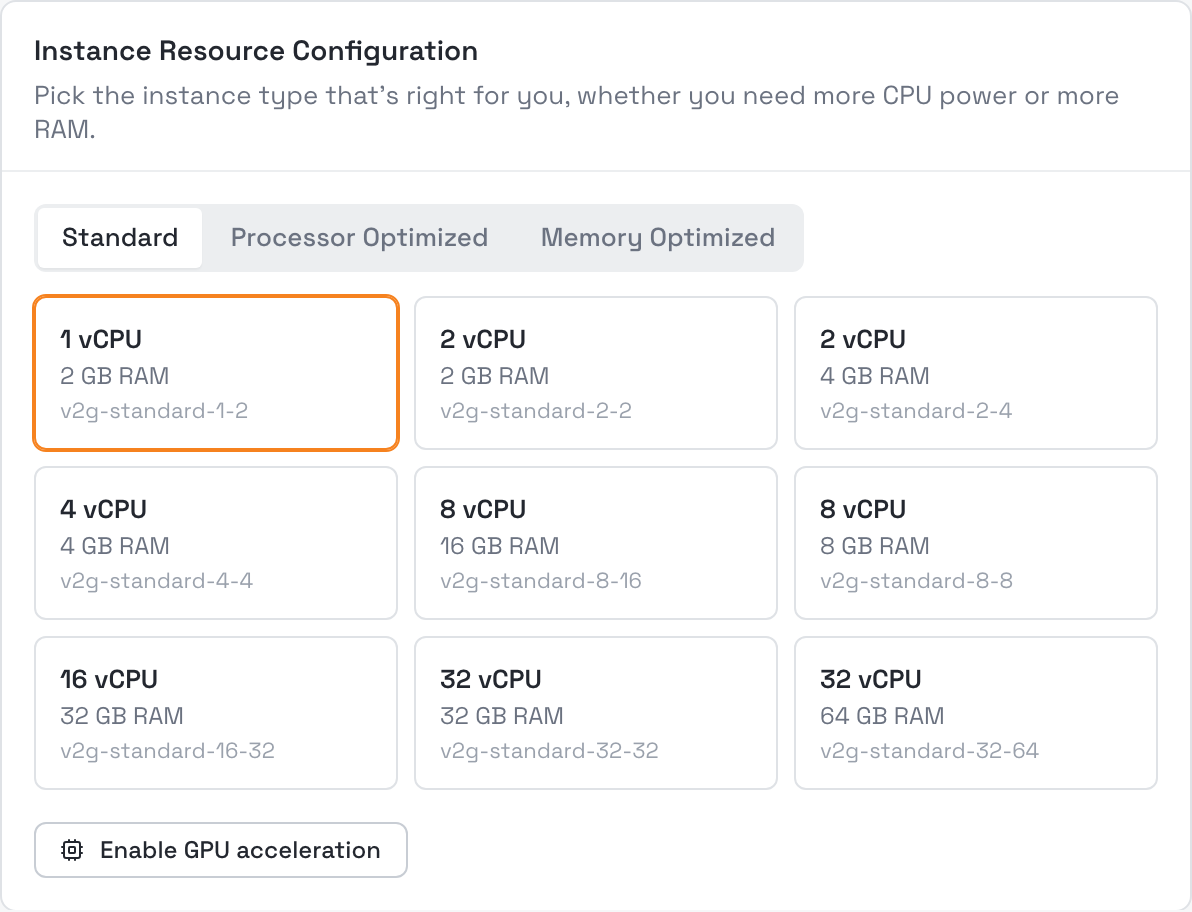
Step 3 — Resource Configuration
Pick a configuration from Standard / Processor Optimized / Memory Optimized; each
card shows vCPU · RAM · flavor code (e.g. v2g-standard-1-2). You can enable GPU
acceleration.
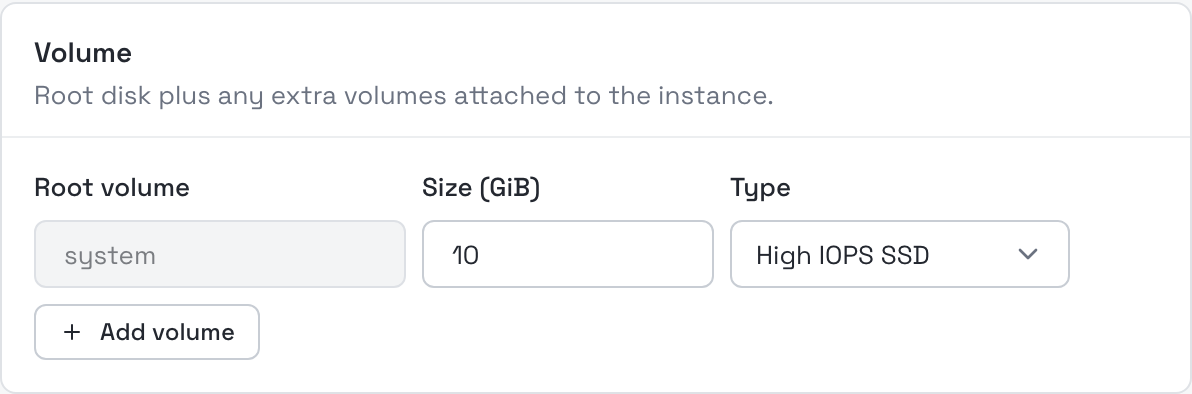
Step 4 — Volume
Set the size and type of the instance's system disk.
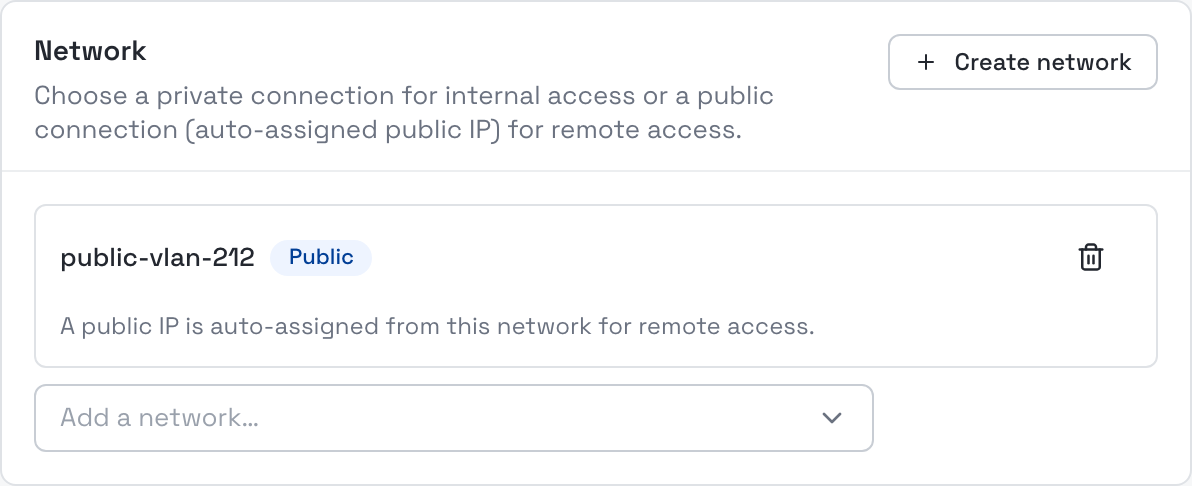
Step 5 — Network
Choose a shared public network or a private VPC network to assign the instance an IP.
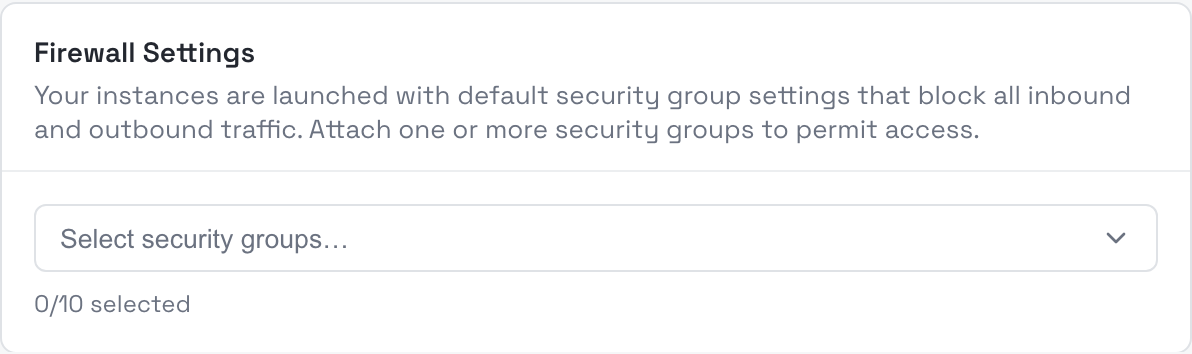
Step 6 — Firewall Settings
By default an instance blocks all inbound/outbound traffic — pick one or more security groups to open access.
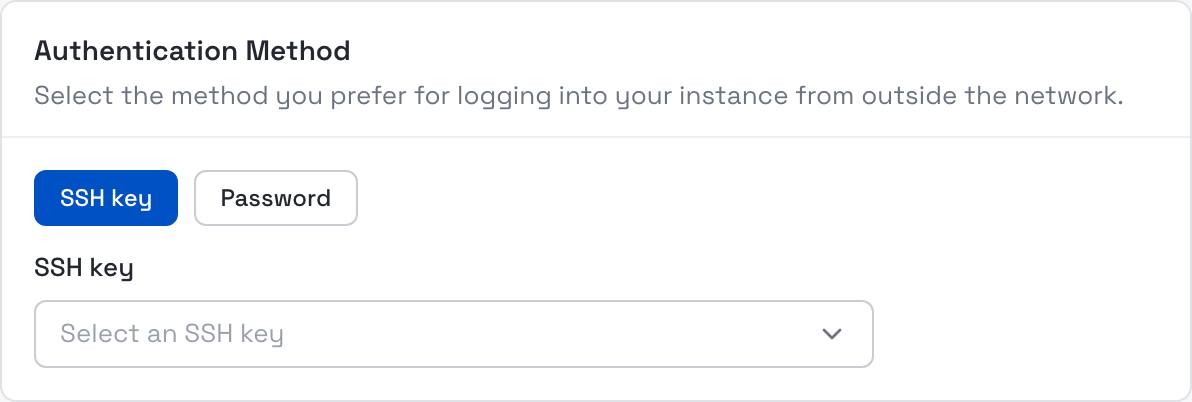
Step 7 — Authentication Method
Choose SSH key (select a key you've created) or Password (set a password of at least 8 characters) to log in to the instance.
Instance Summary
The right-hand panel summarizes every choice (OS, configuration, volume, network, tags) before you create. Click Create new Instance to launch — the VM takes a few minutes to build.
Instance detail — Overview
Open an instance to enter its per-VM console — the left nav switches to the tabs Overview · Monitoring · Network · Network traffic · Volumes · Snapshots · Backups.
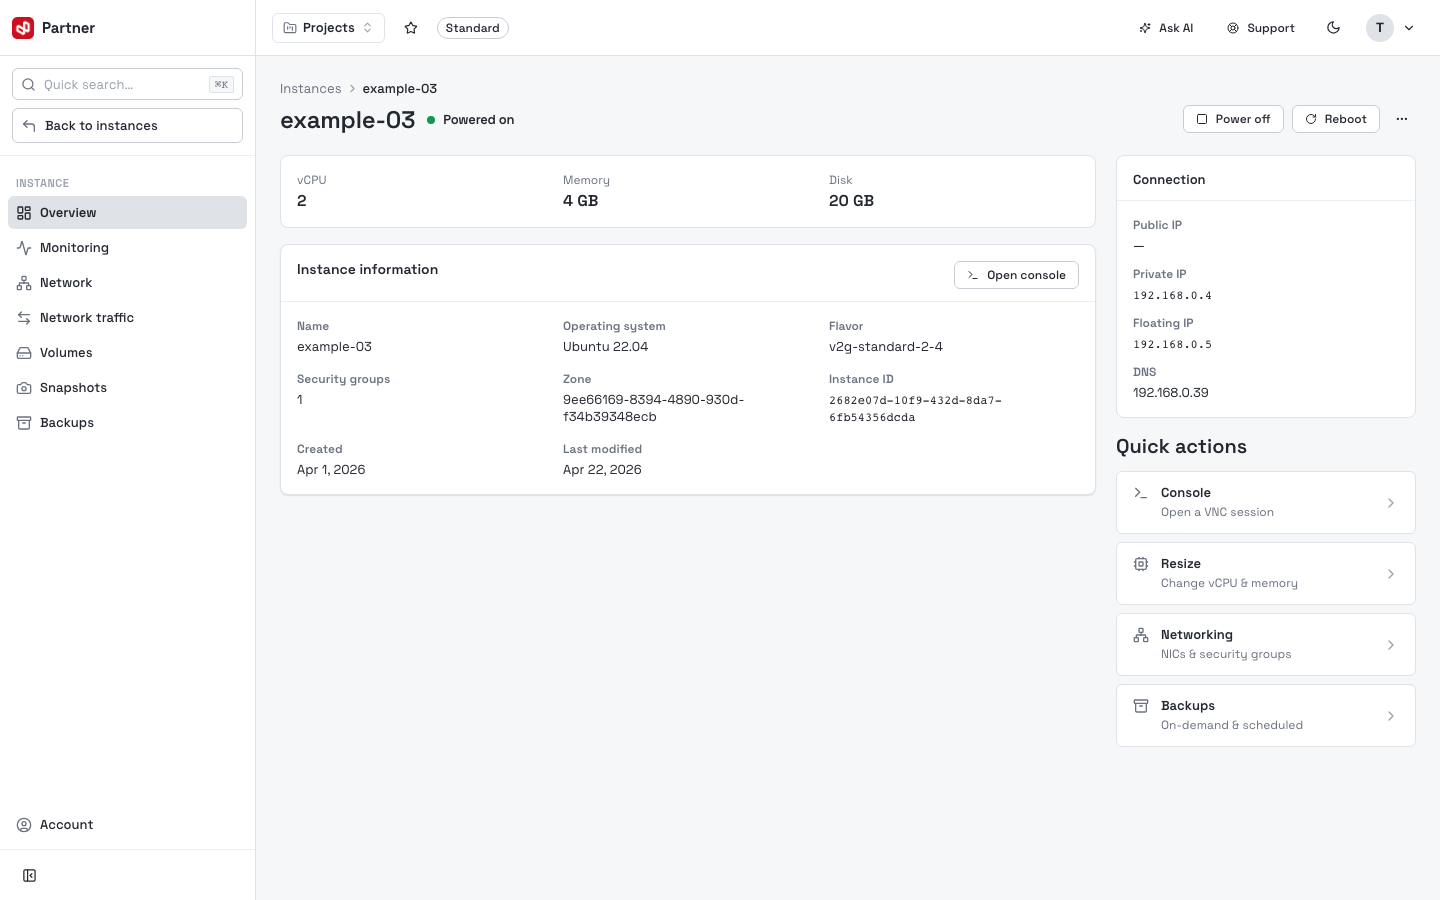
- Resource cards: vCPU · Memory · Disk.
- Instance information: Name, Operating system, Flavor, Security groups, Zone, Instance ID, Created, Last modified.
- Connection: Public IP, Private IP, DNS. Open console launches a VNC session.
- Quick actions: Console · Resize · Networking · Backups.
Lifecycle actions
The button cluster at the top right applies to the whole instance: Power off, Reboot, and a … (More actions) menu.
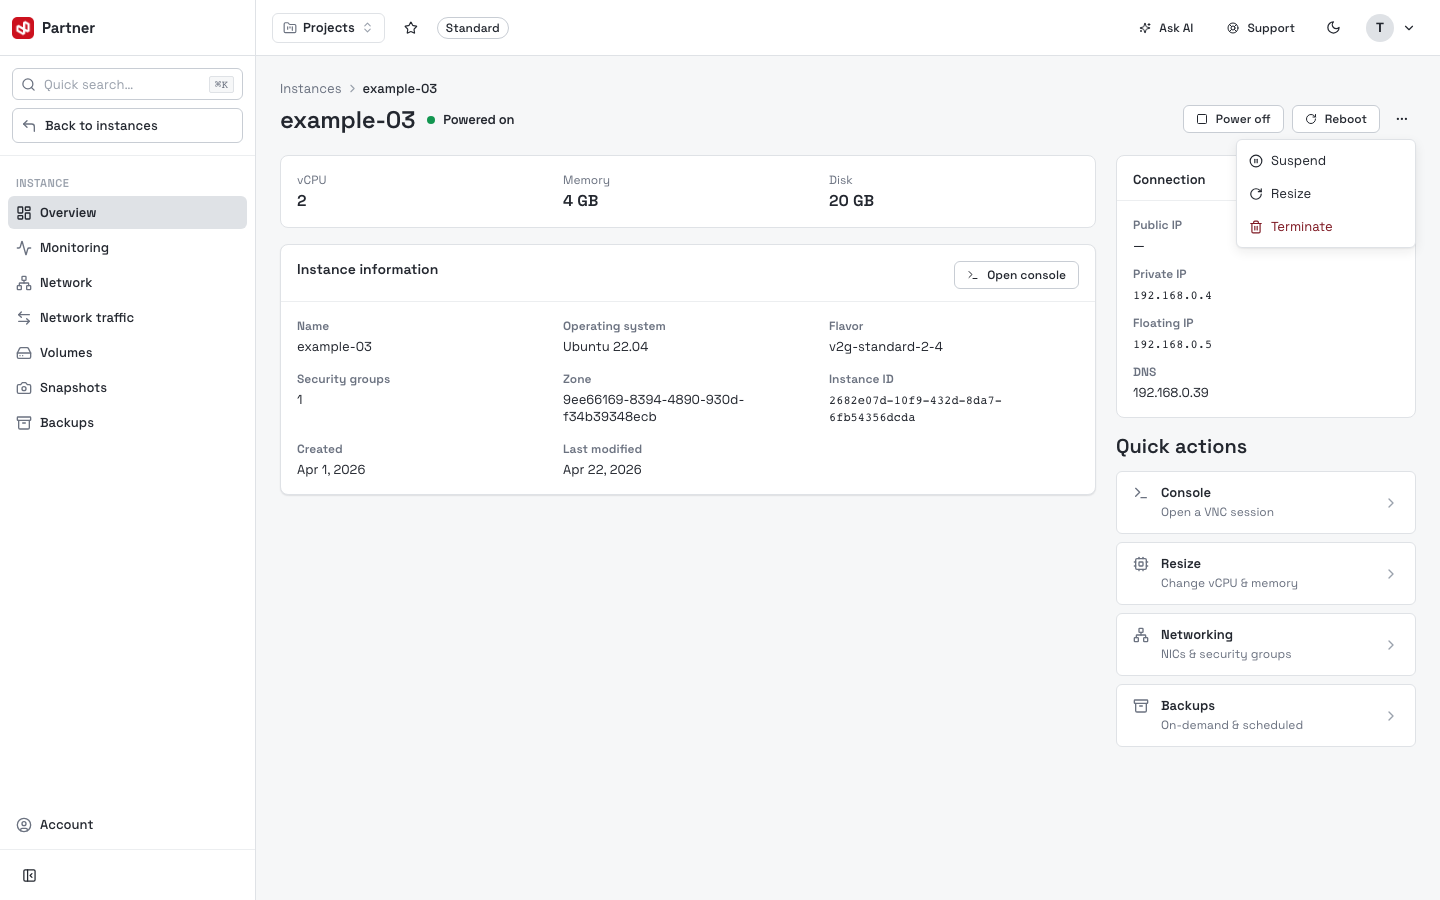
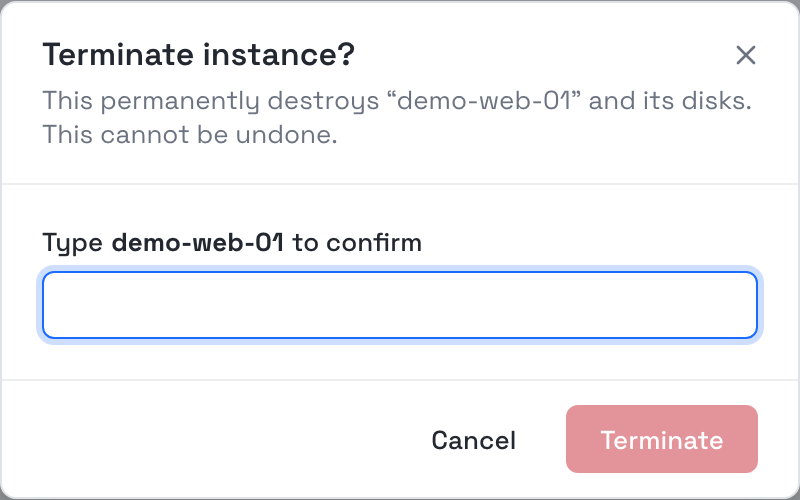
The … menu holds: Suspend, Resize (change configuration), Terminate (delete the VM — destructive).
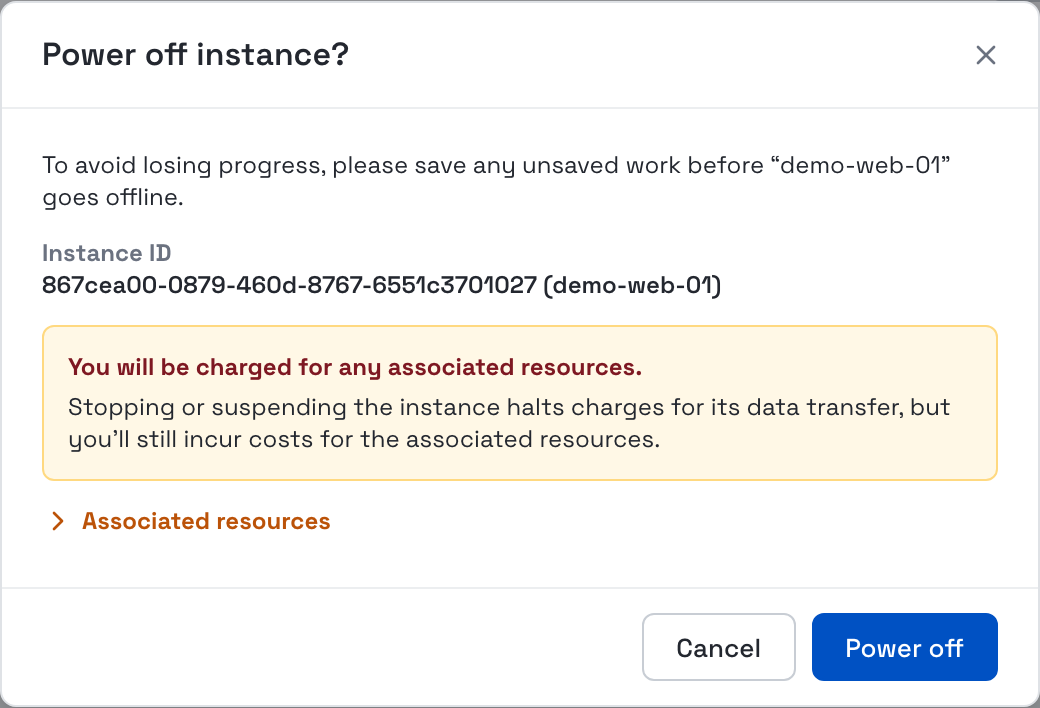
Power off — the system asks for confirmation before shutting the machine down.
Terminate destroys the VM and cannot be undone. To prevent accidental deletion, the system requires you to type the instance name exactly to confirm.
Monitoring
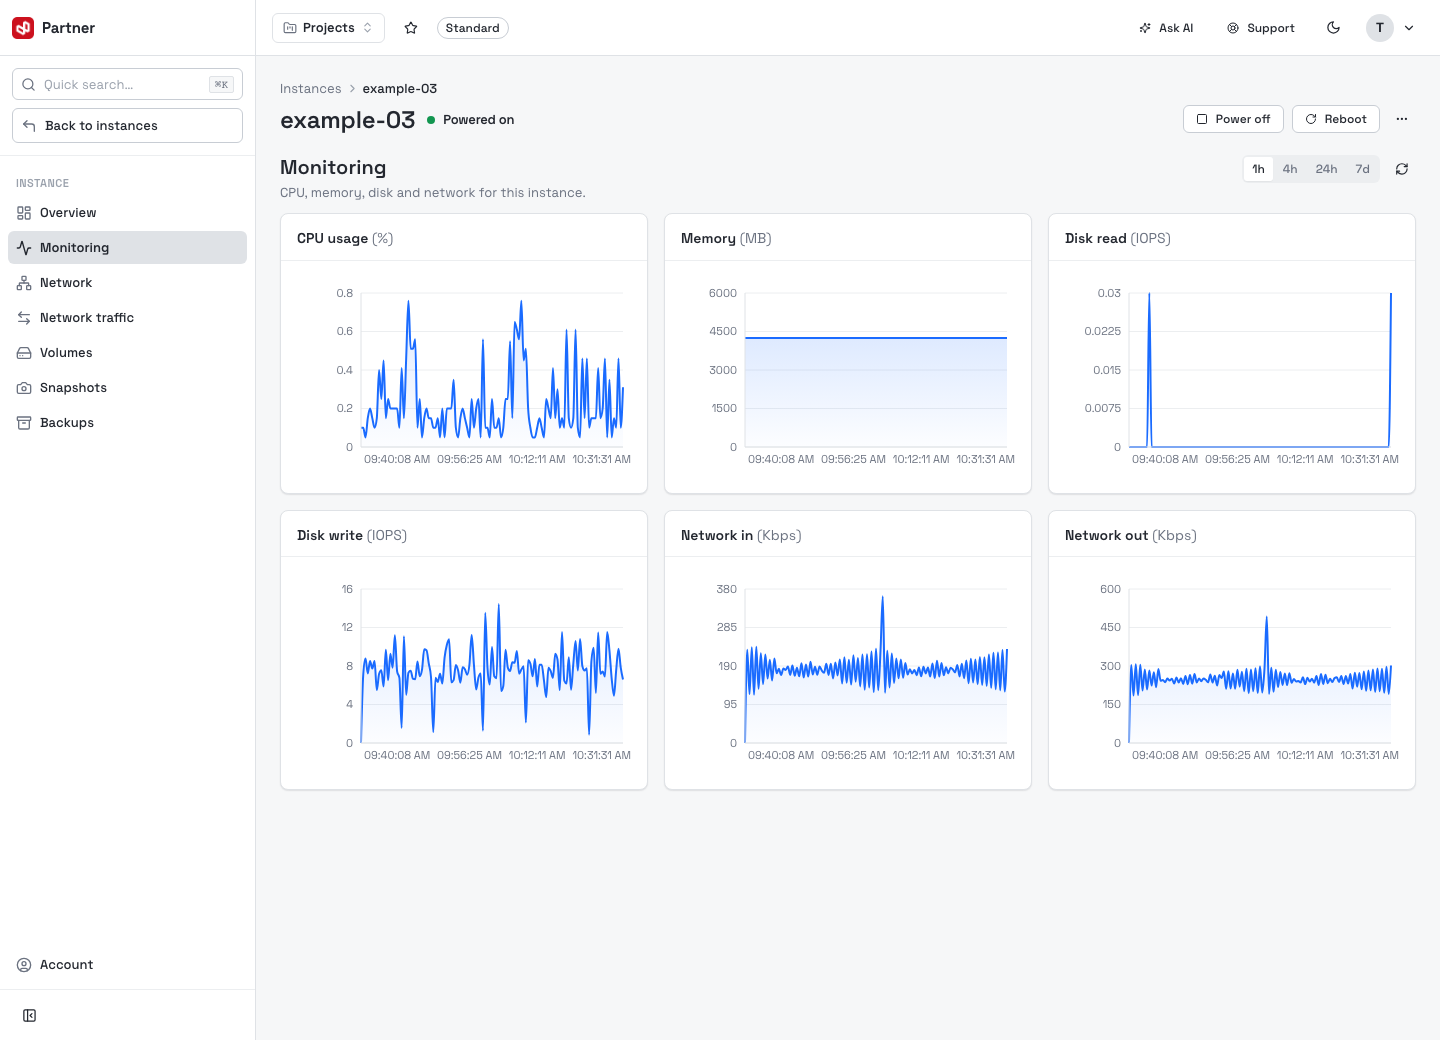
Six performance charts over time — CPU usage (%), Memory (MB), Disk read (IOPS), Disk write (IOPS), Network in (Kbps) and Network out (Kbps). Use the 1h / 4h / 24h / 7d switch (top right) to change the window, and the refresh icon to pull the latest points. Charts populate only while the instance is powered on.
Network — interfaces (NIC)
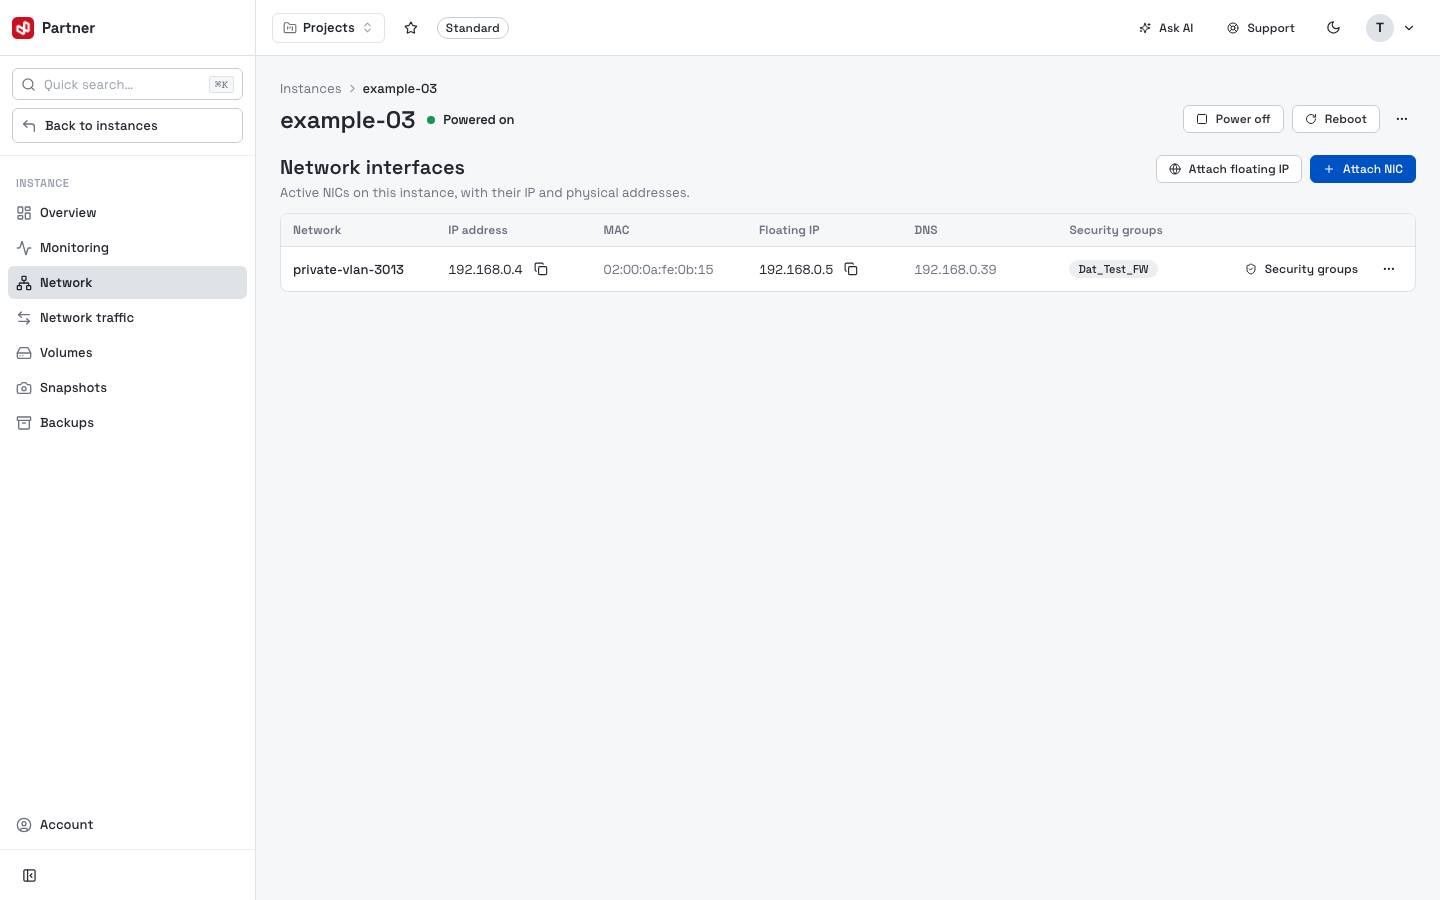
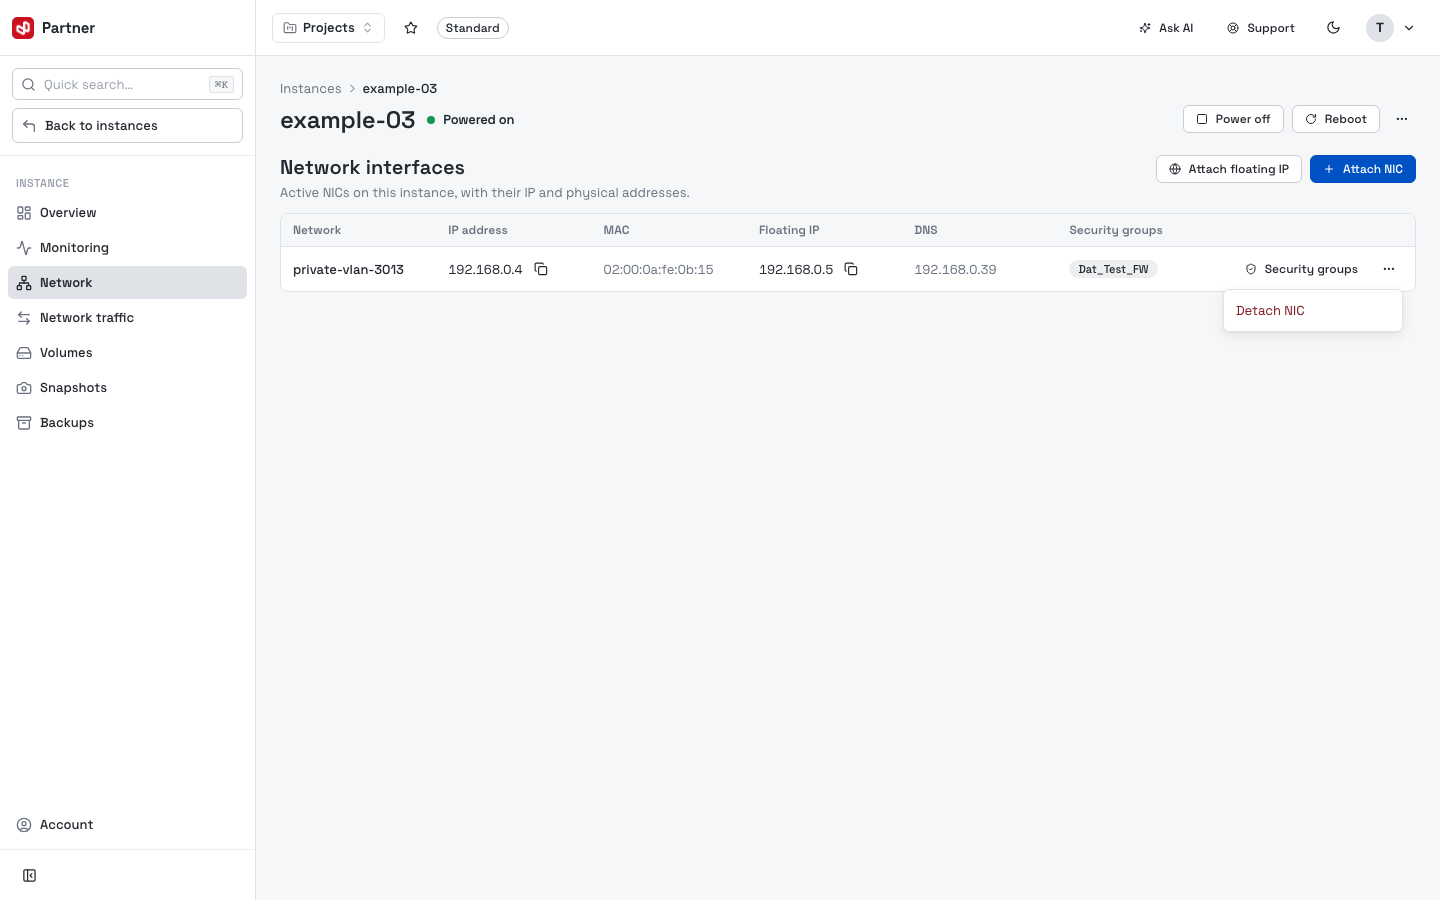
The Network interfaces table lists the instance's NICs: Network, IP address, MAC, Floating IP, DNS, Security groups.
-
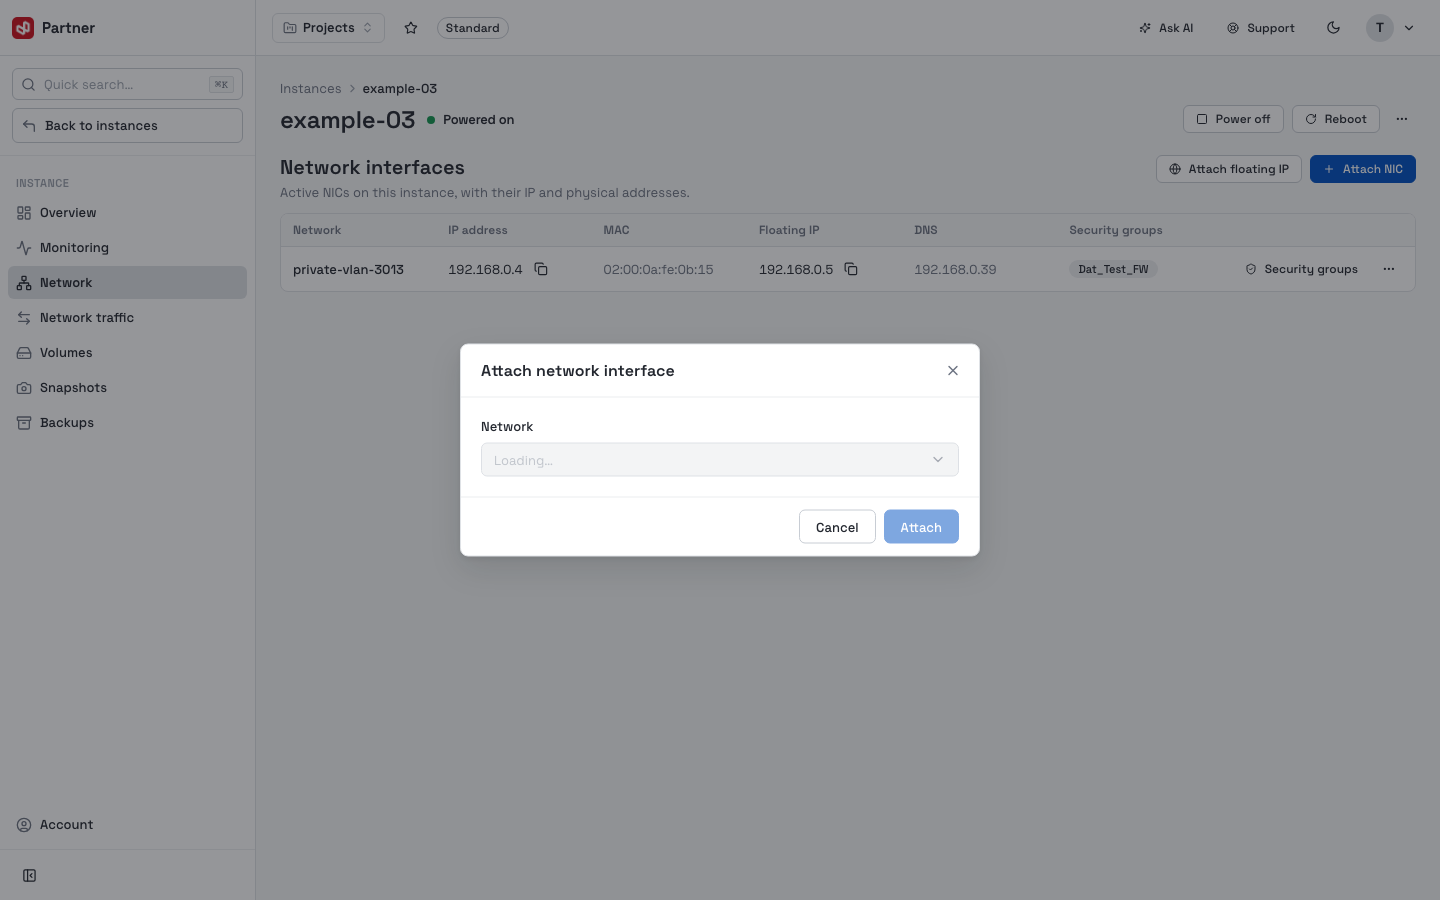
Attach NIC — add another network interface (public or VPC).
-
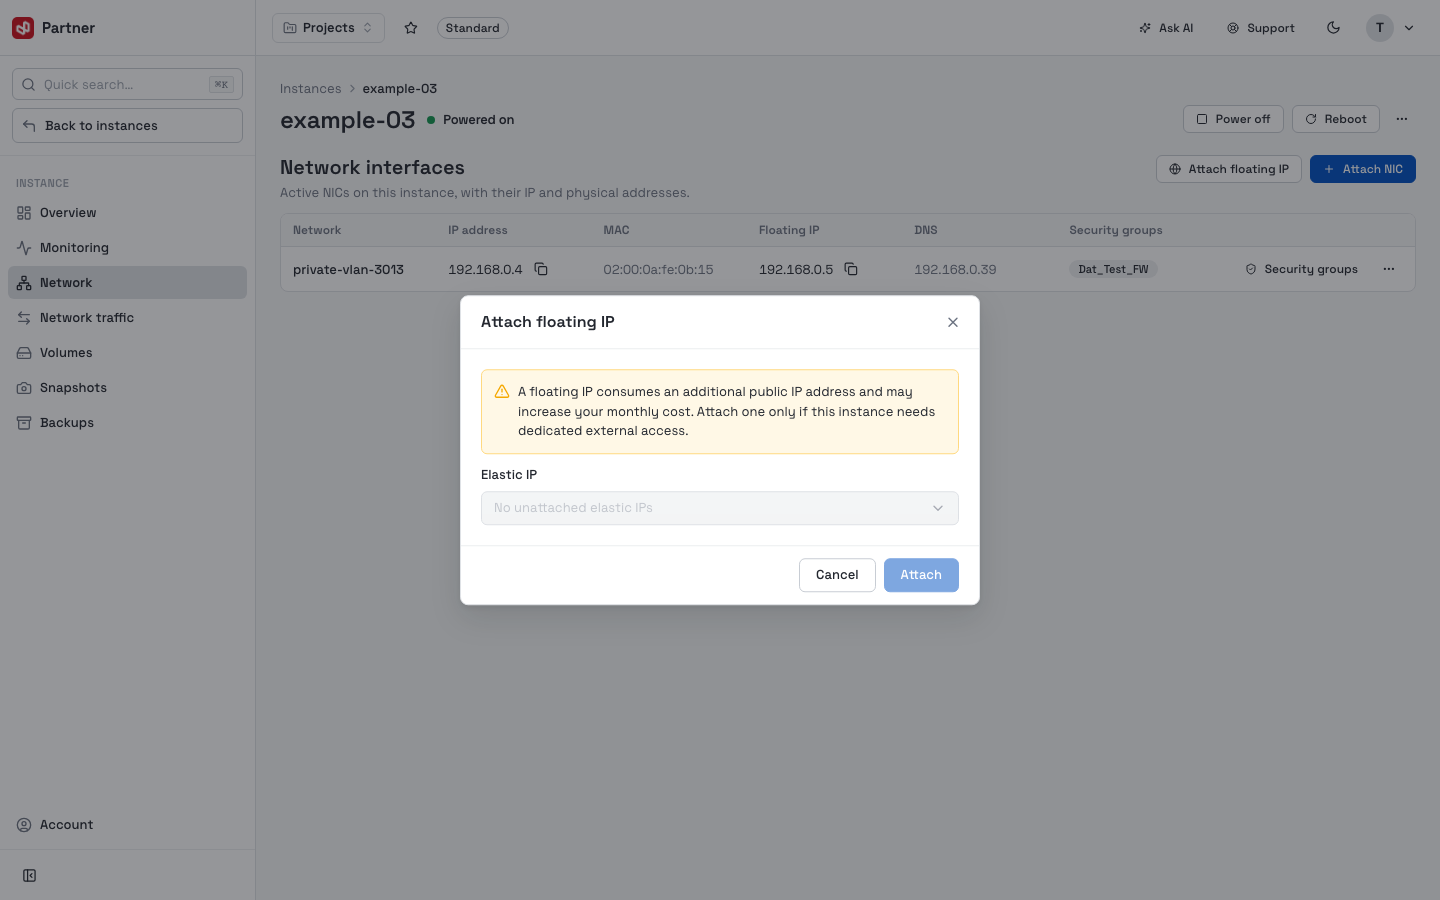
Attach floating IP — assign an allocated static IP (Elastic IP) to a NIC.
-
Each NIC row has a Security groups quick action and a … menu to Detach NIC.
Network traffic (Beta)
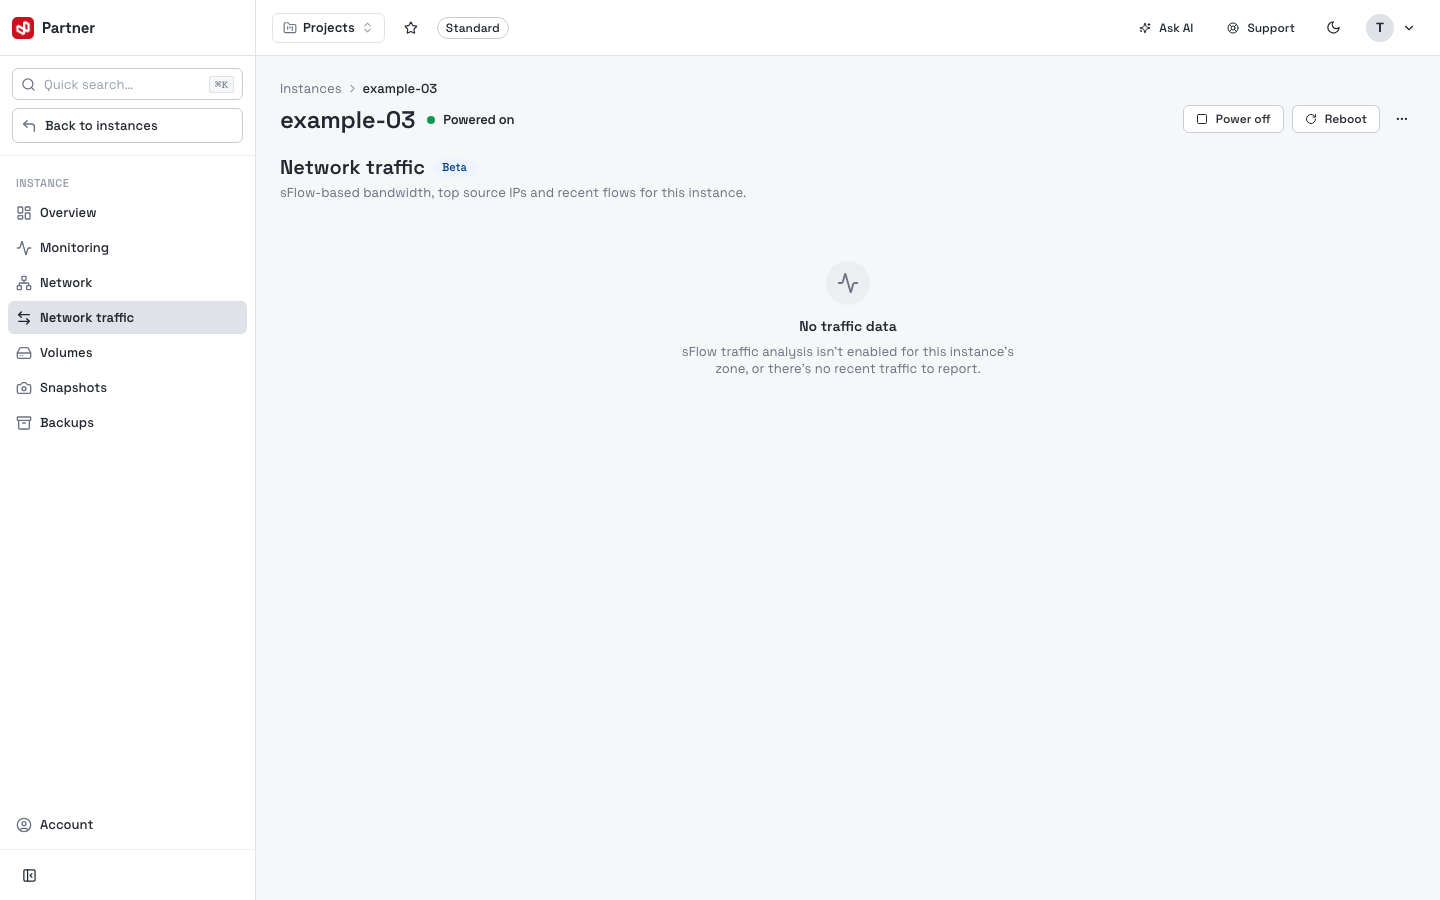
Traffic statistics based on sFlow: Bandwidth, Total traffic, Packets, Unique sources, plus Top source IPs and Recent flows tables. When there's no data yet it shows No source data / No recent flows.
Volumes (per instance)
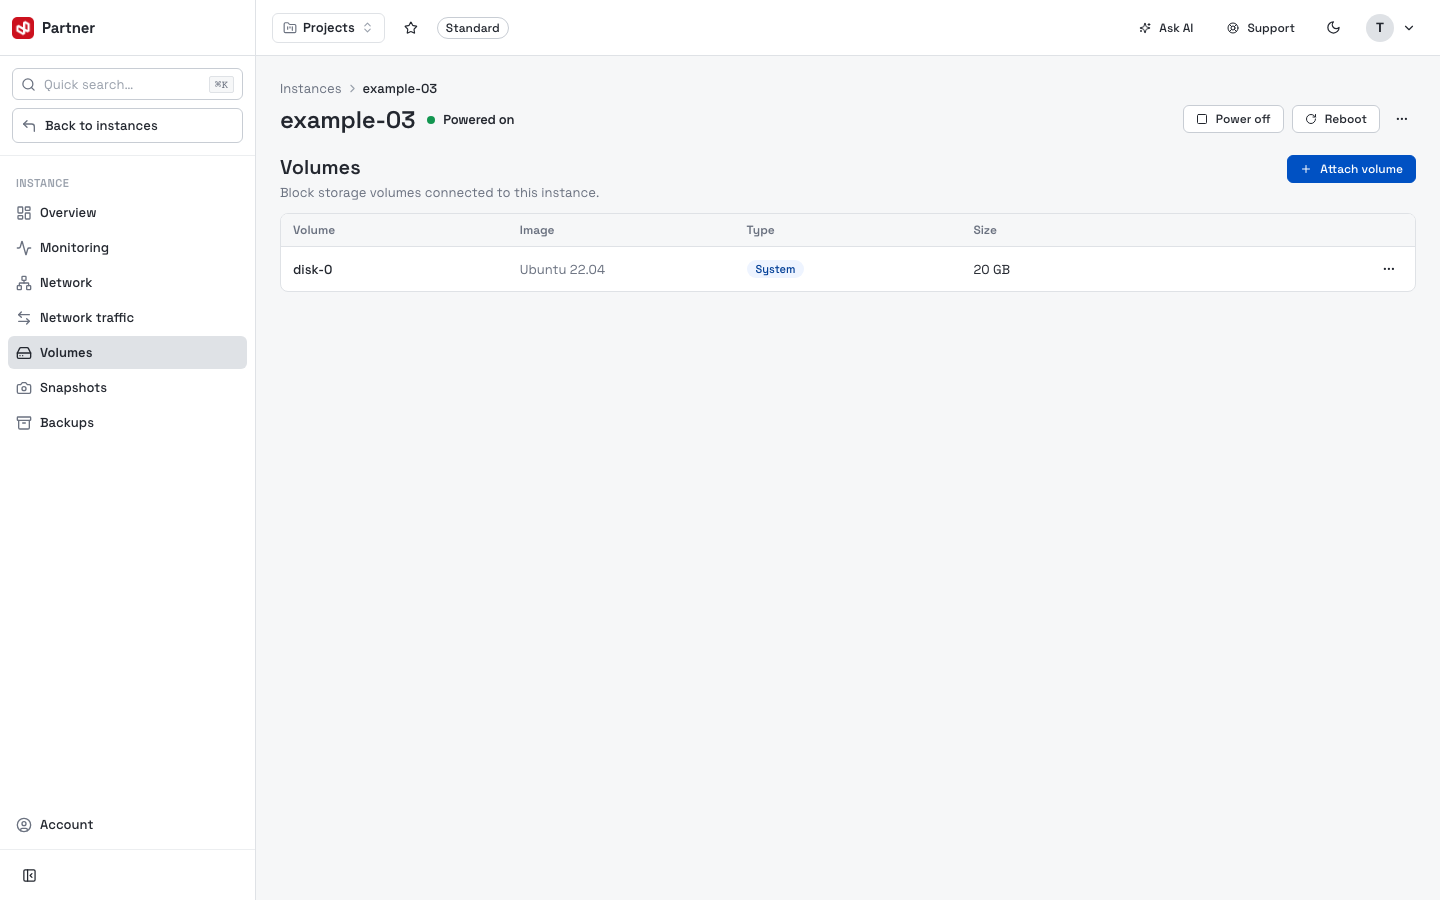
The block storage table for disks attached to the instance: Volume, Image, Type (System/Data), Size. Each disk's … menu has Resize and Detach.
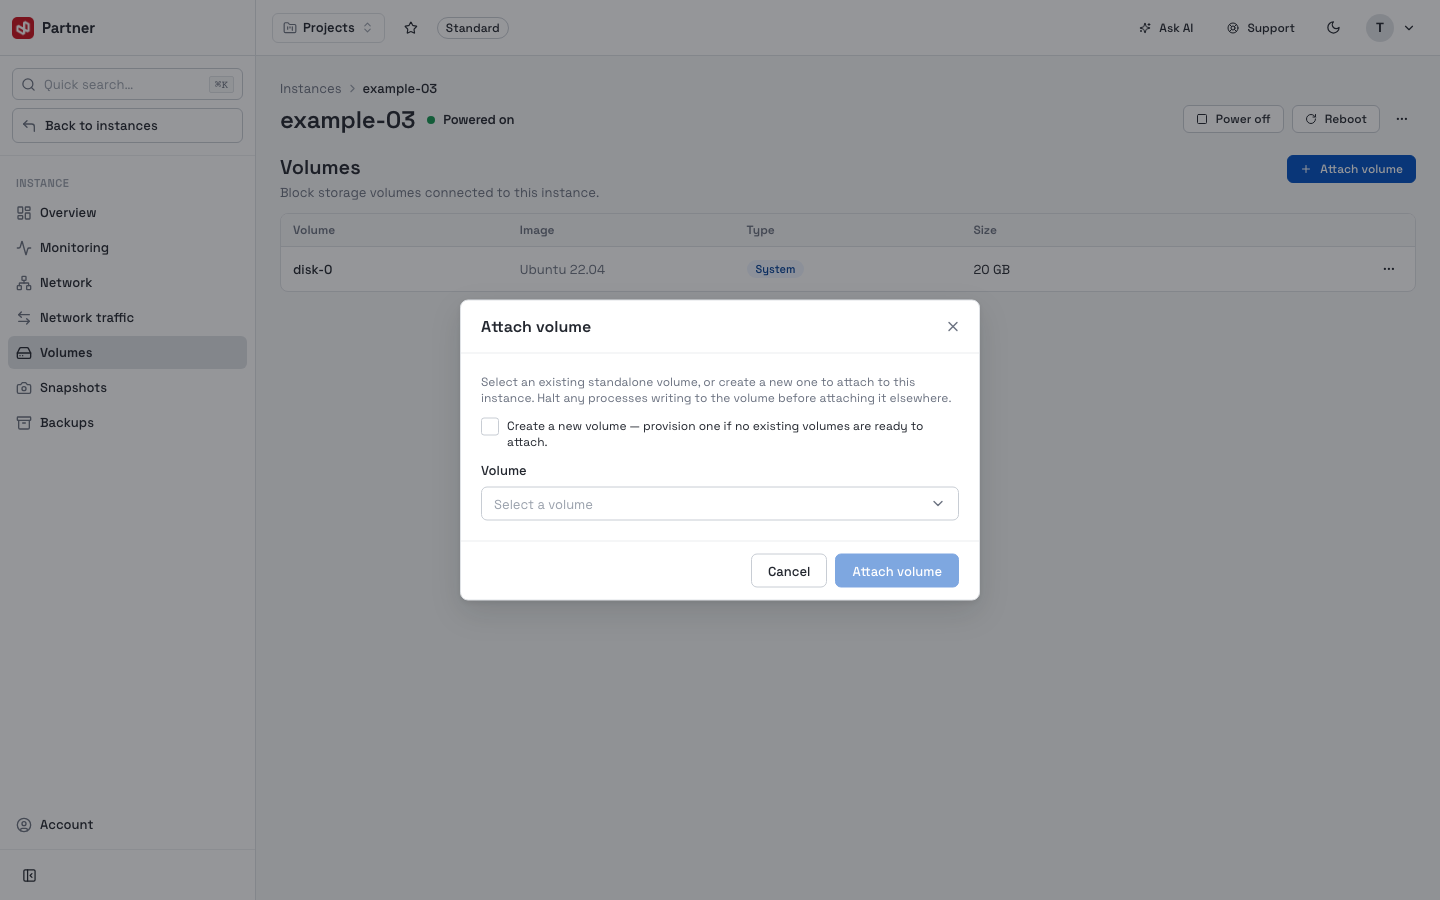
Click Attach volume to add an existing unattached data disk (same zone) to the instance:
-
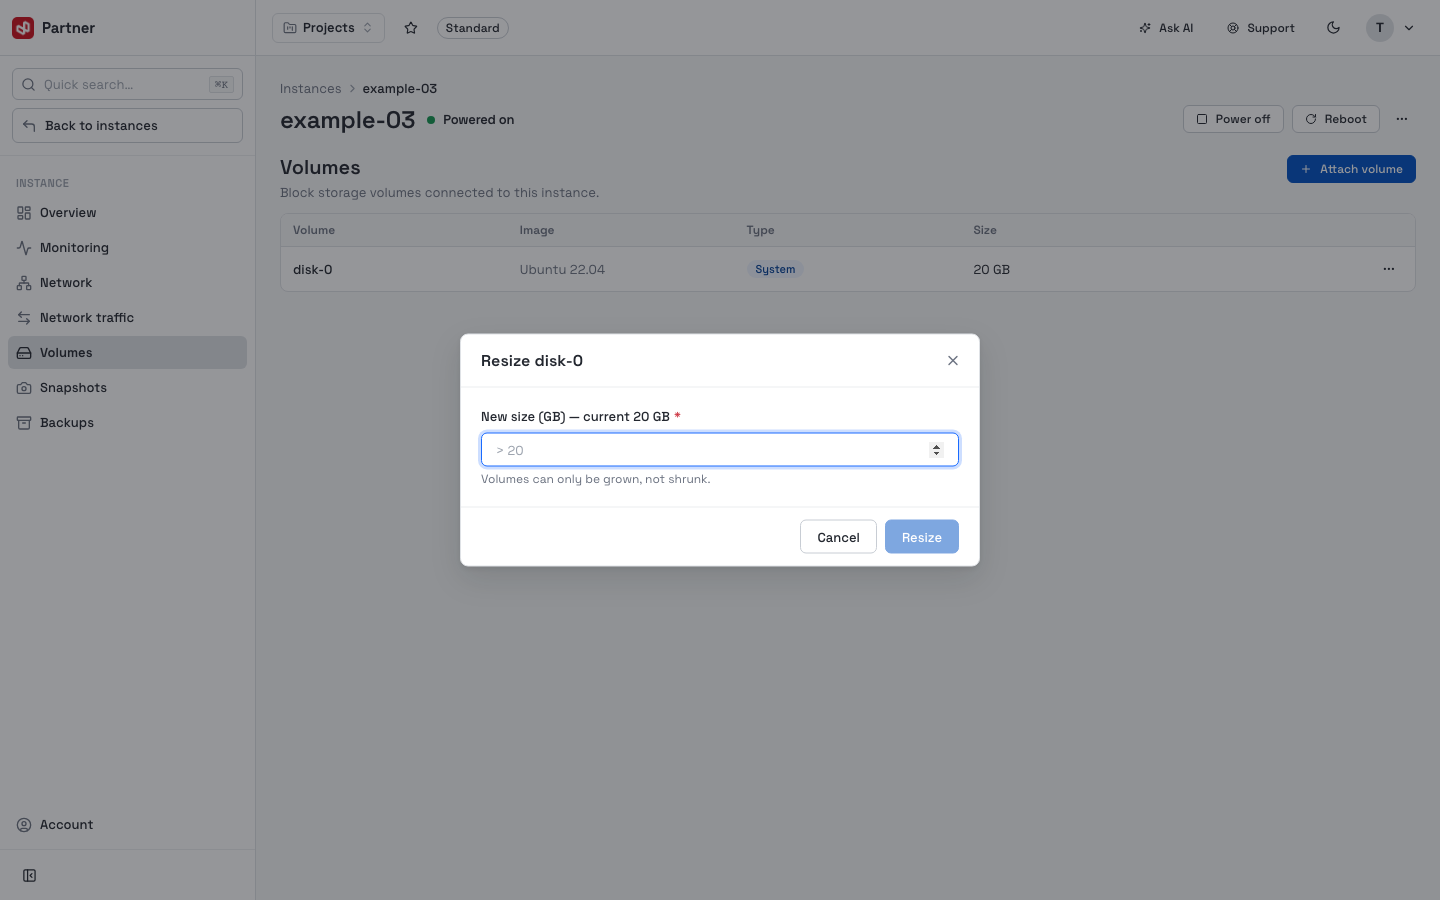
Resize — grow the disk (pick a new size).
-
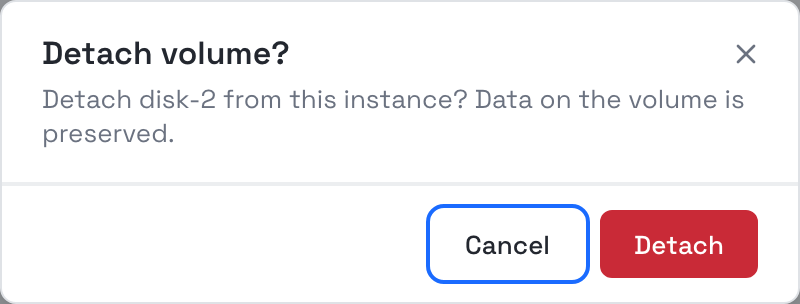
Detach — remove a data disk from the instance (its data is kept). The System disk cannot be detached.
Snapshots (per instance)
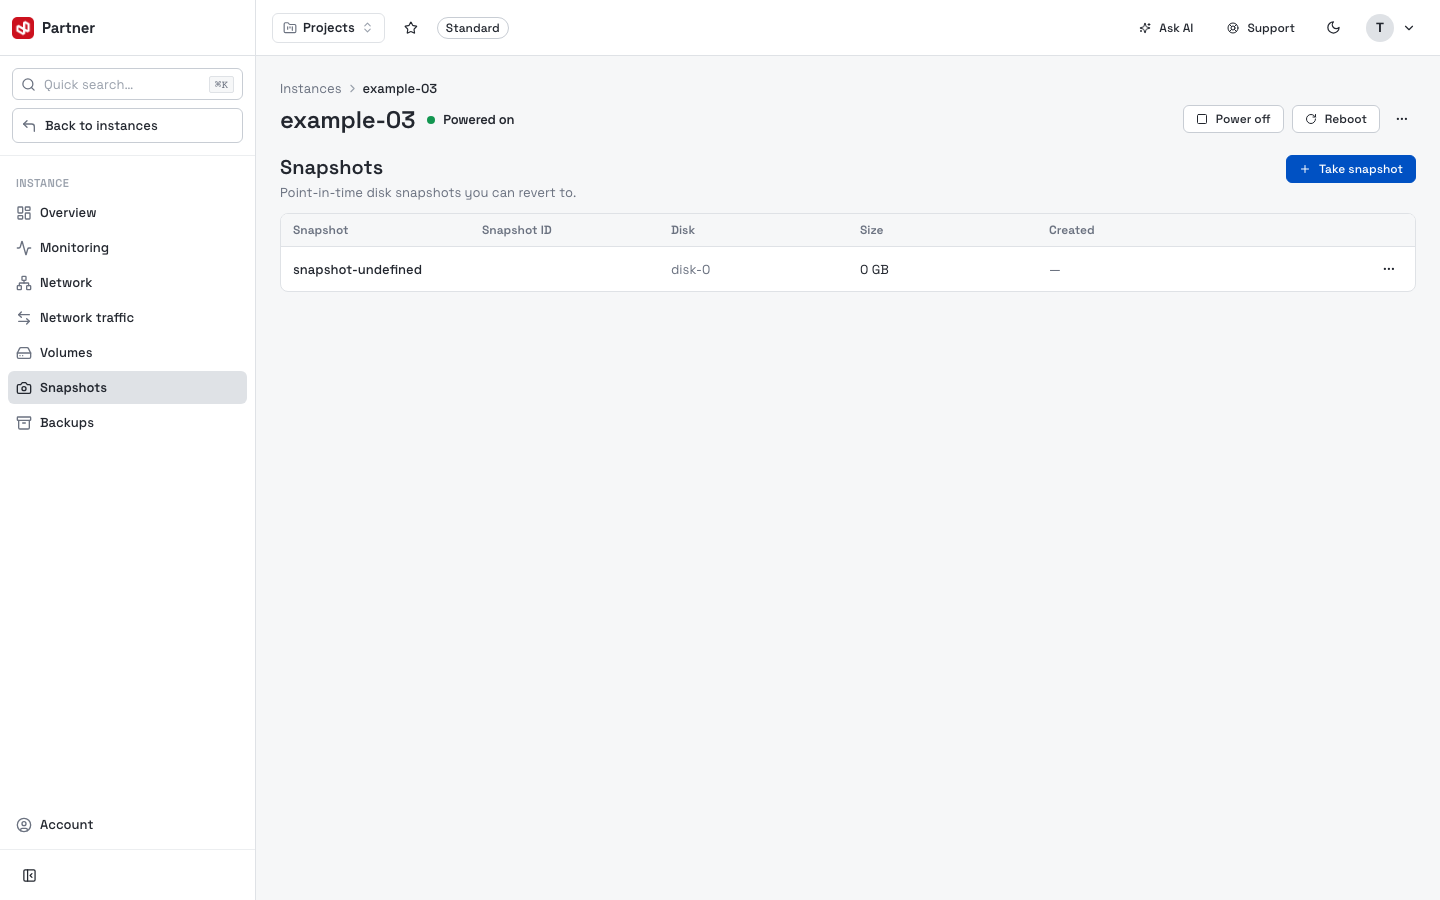
A snapshot captures the disk state at a point in time so you can revert later. The table shows Snapshot, Snapshot ID, Disk, Size, Created.
Click Take snapshot, name it and pick which Disk to capture (snapshots are taken per disk), then confirm:
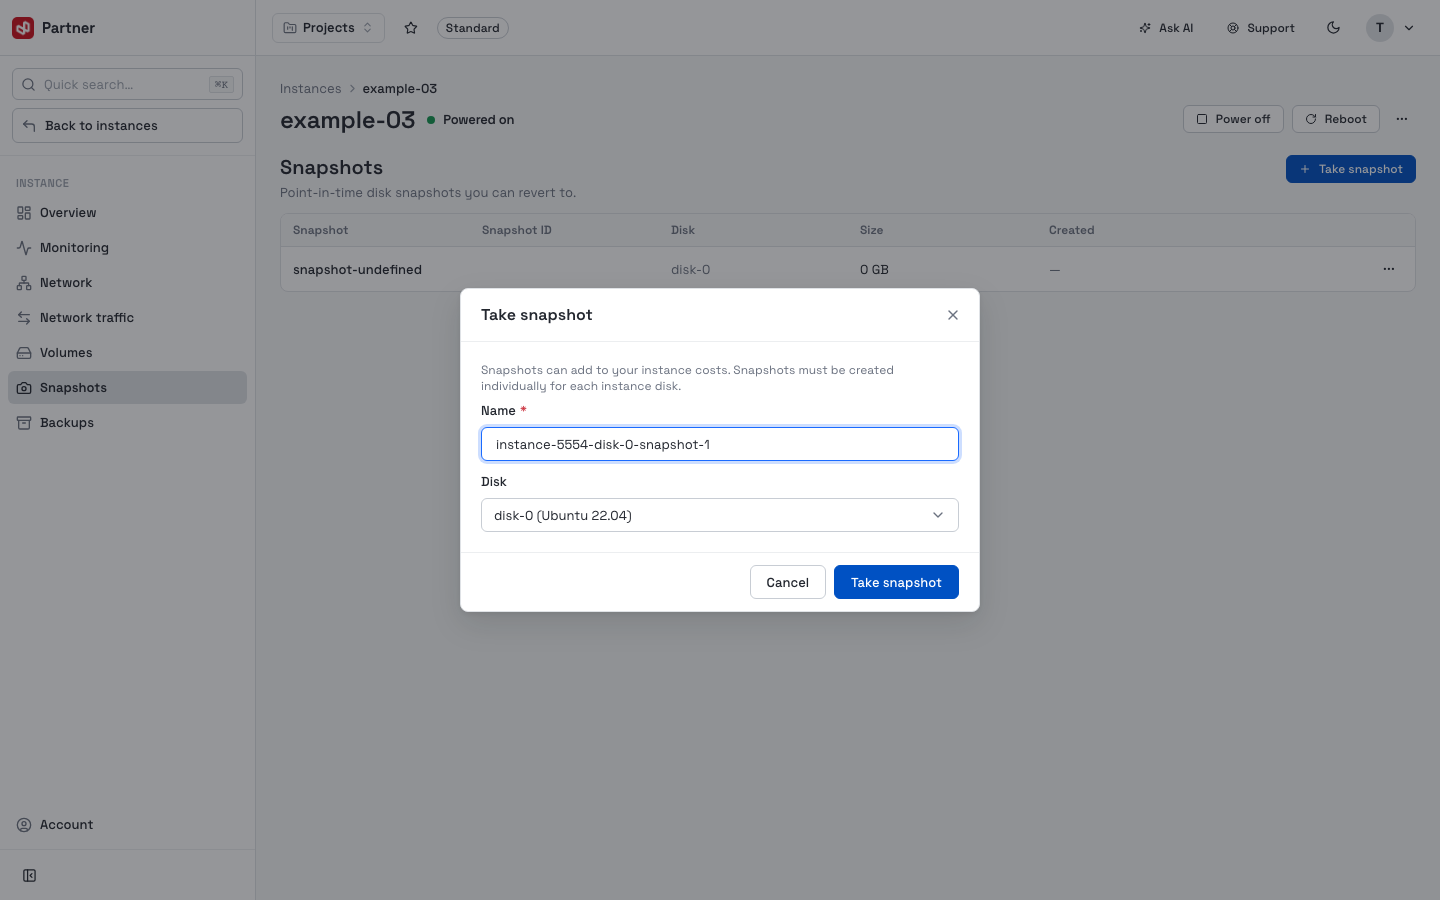
Snapshots can add to your instance costs and must be created individually for each instance disk.
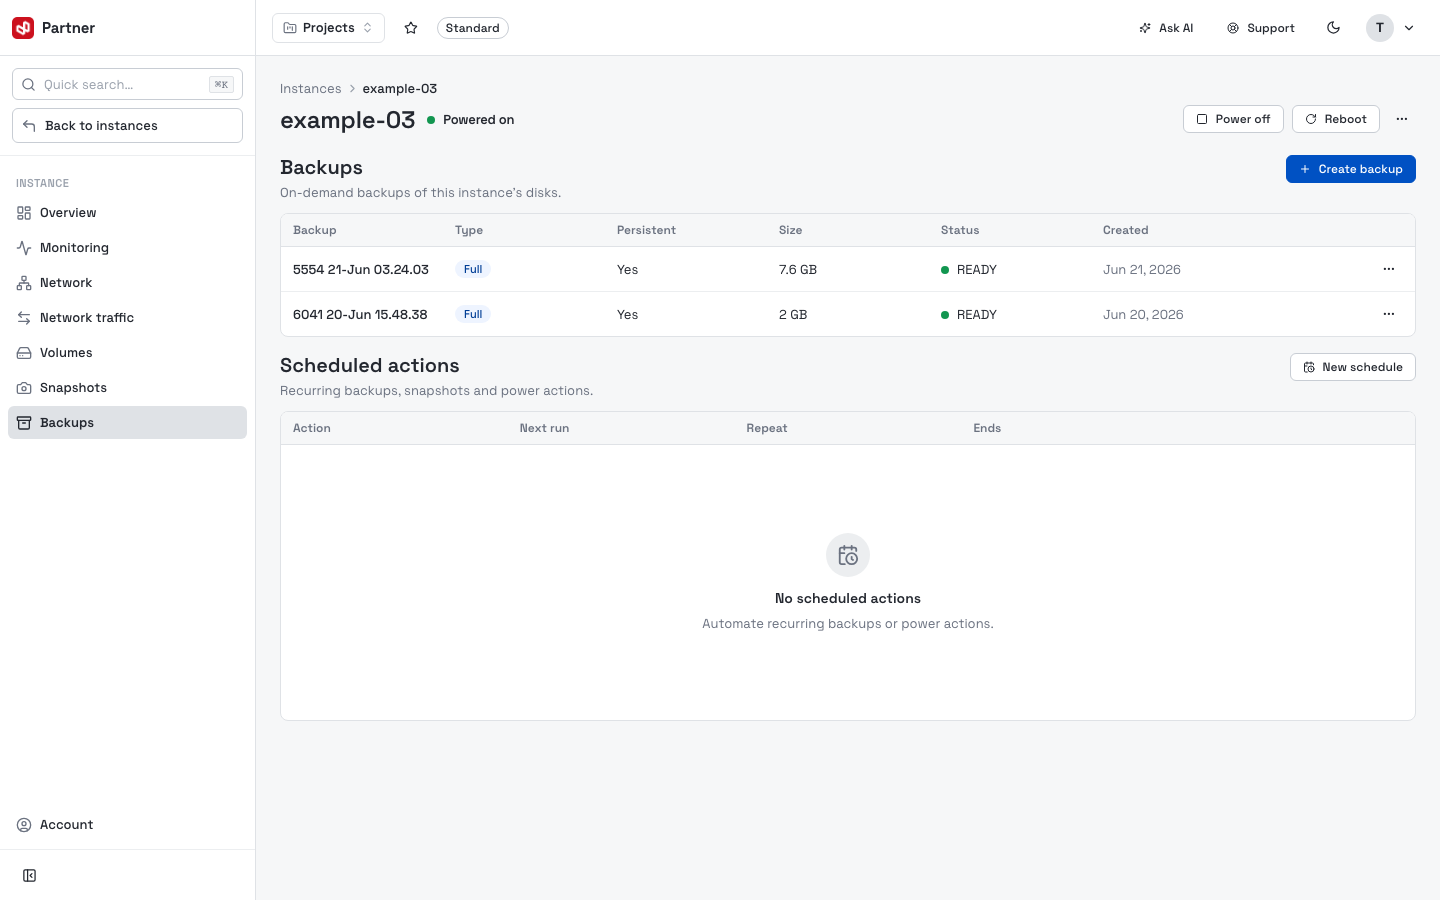
Backups (per instance)
-
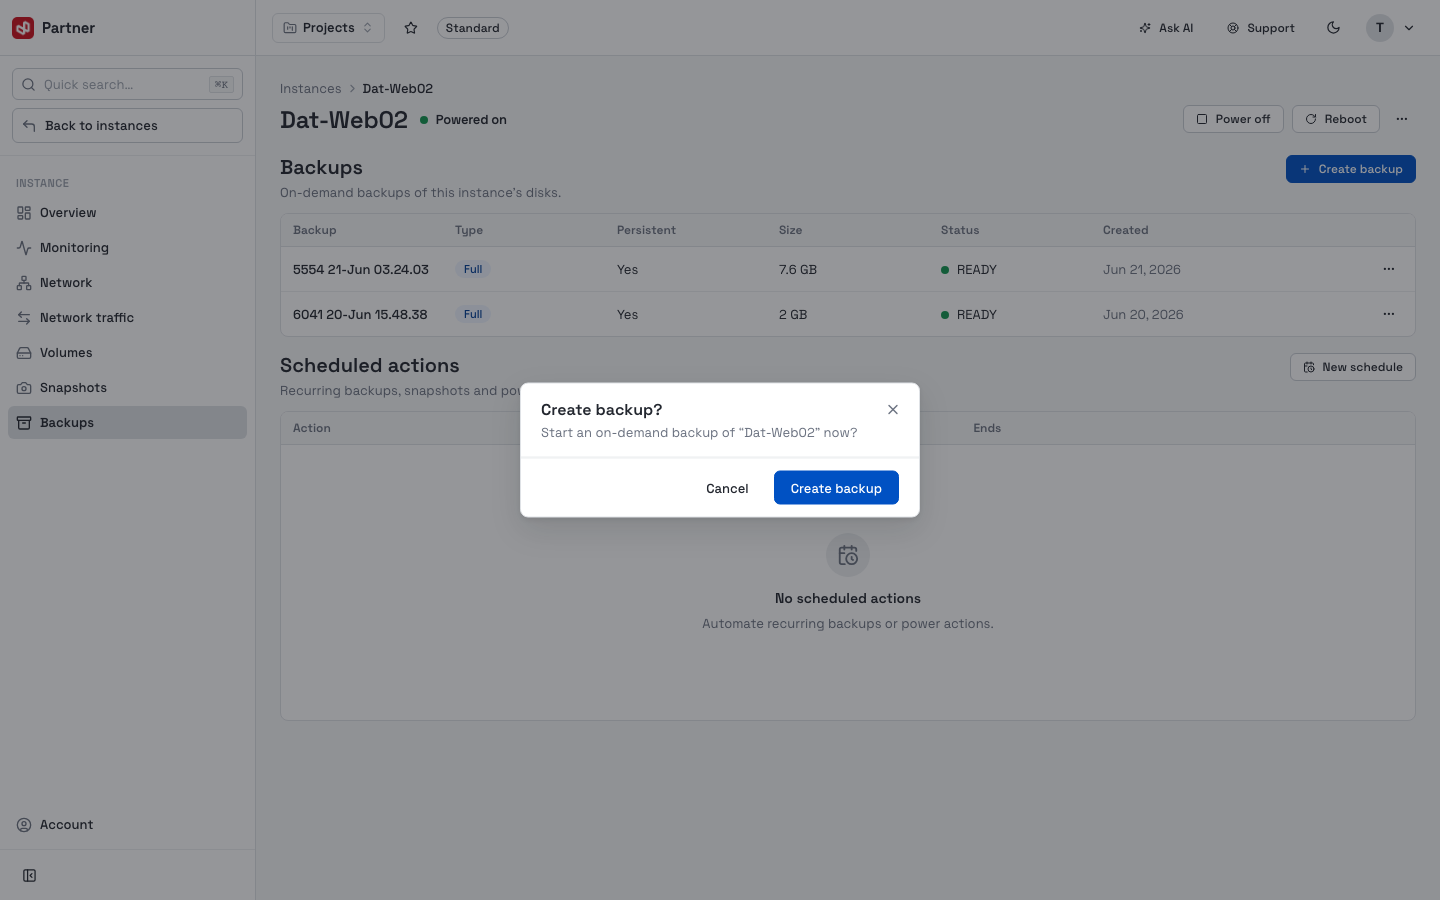
Backups — on-demand backups of the instance's whole disk (Backup, Type, Persistent, Size, Status, Created). Click Create backup and confirm to start one now:
-
Scheduled actions — automate recurring actions. Click New schedule to open the scheduler:
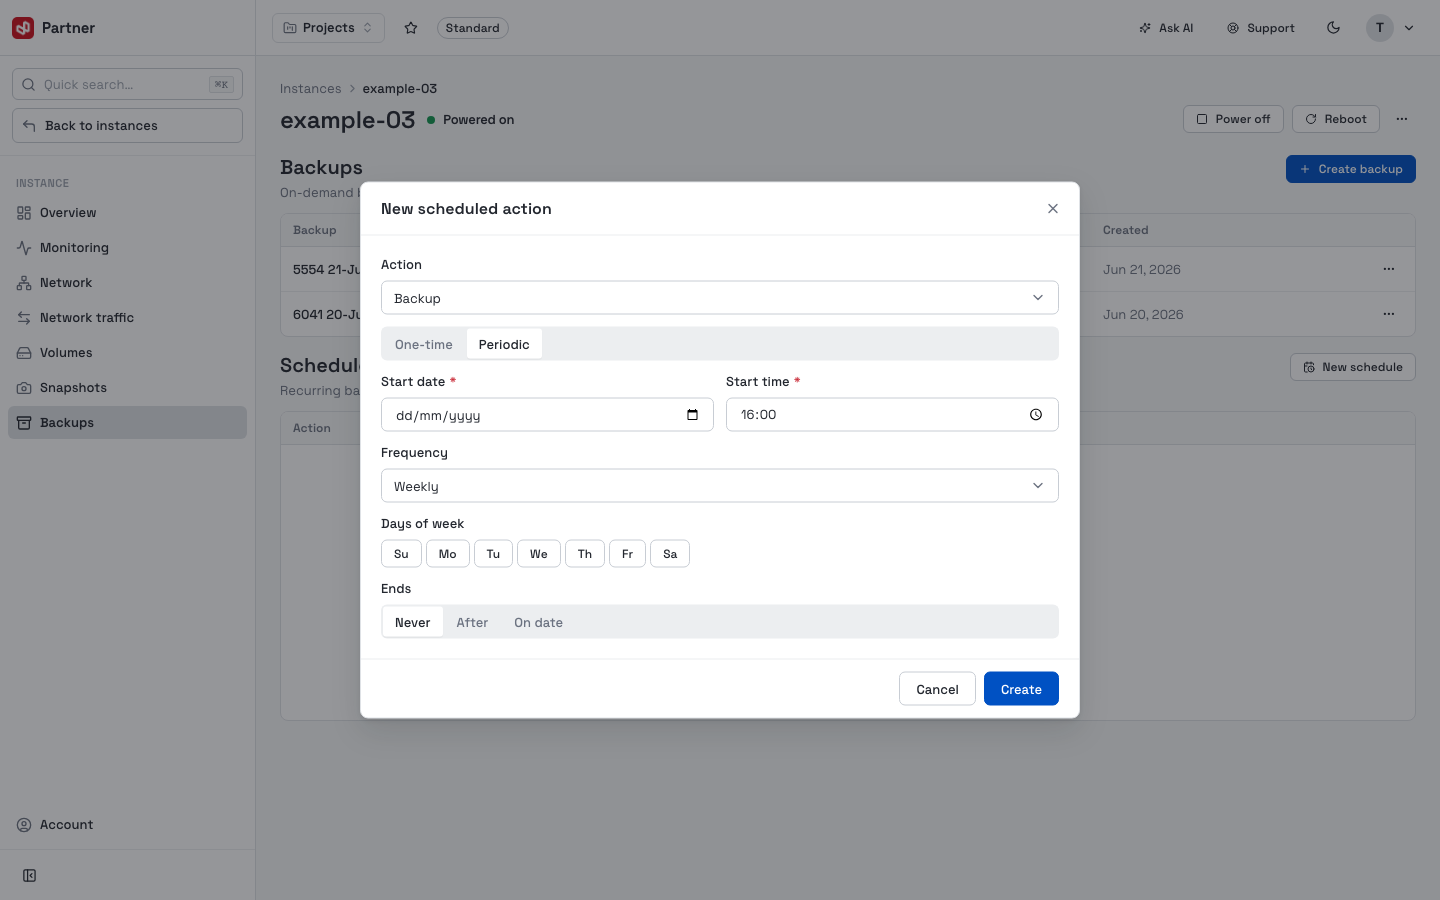
Pick an Action (Backup / Snapshot / power action), choose One-time or Periodic, set the Start date/time and Frequency (with Days of week for weekly), and an Ends rule (Never / After / On date), then Create.
Resize
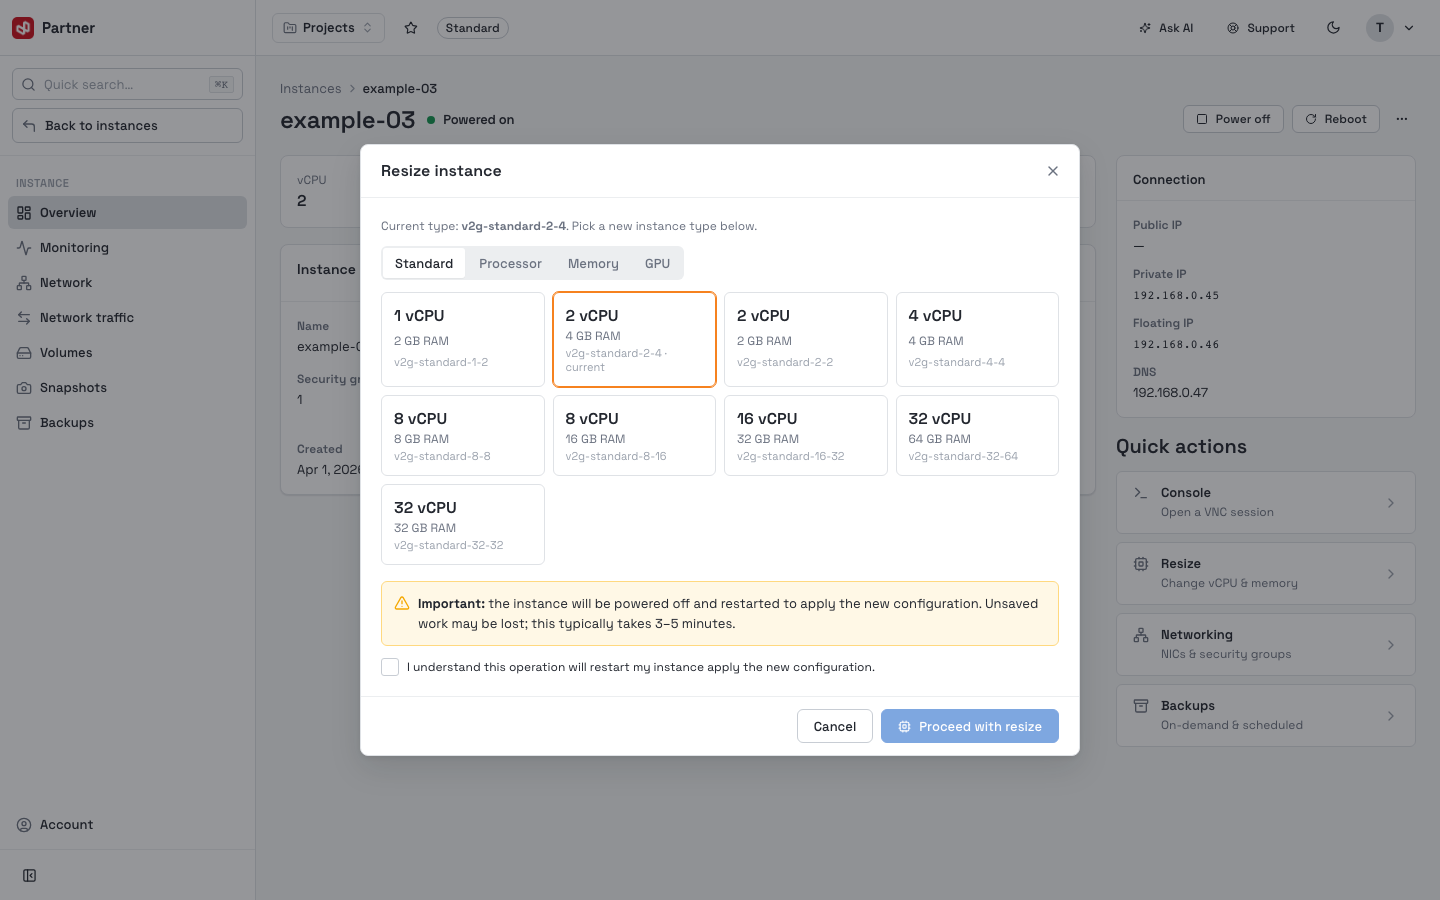
Pick a new flavor (Standard/Processor/Memory/GPU).
Resizing powers the instance off and restarts it to apply the new configuration (3–5 minutes). You must tick the confirmation before Proceed with resize — schedule it for off-peak hours.